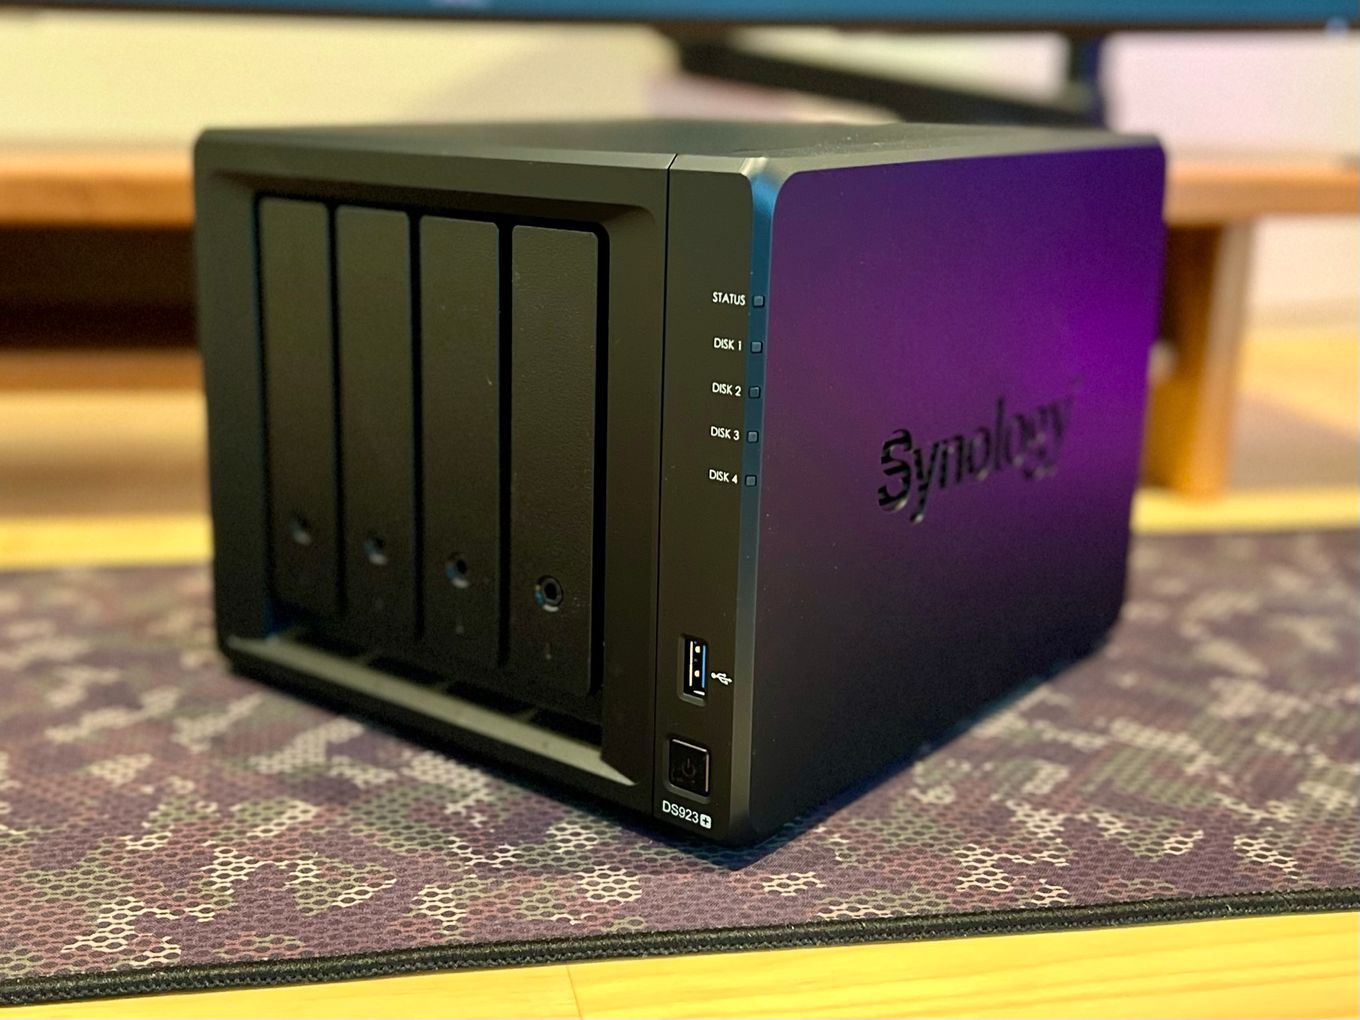
Synology DS923
For the past 8 years, I’ve used a loophole with a Google business plan to take advantage of unlimited cloud storage in Drive. I have been using this for storing an extensive media library for my Plex server.
Recently Google has started cracking down on this. I’ve been hit with emails advising that our pooled storage limit has been exceeded and that we’re in a 60-day grace period.
I had meant to do this earlier as a further step to reduce my reliance on Google, but this was the kick that I needed to invest in a locally hosted NAS.
Requirements
My requirements for a local NAS device are simple.
- Centralised data storage for my media collection
- A Dropbox-like shared folder system to sync files between my machines
- Online document collaboration
- Photo management
- Data protection and backups
After some quick research, I landed on the Synology DS923+. Synology’s DiskStation Manager (DSM) makes all of the above easy. The hardware configuration for the DS923+ is as follows:
- CPU: AMD Ryzen R1600
- Memory: 4 GB DDR4 (upgradable to 32 GB)
- Drive Bays: 4x
- M.2 Drive Slots: 2x (NVMe)
- LAN: 2x RJ-45 1GbE LAN Port (with Link Aggregation / Failover support)
- USB: 2x 3.2 Gen 1 Port
- PCIe: 1x Gen3 x2 network upgrade slot
The biggest complaint online is when compared to the previous DS920+ model; the DS923+ features an AMD CPU rather than the previous Intel with an onboard GPU. This was a key feature for many people who liked to use their Synology NAS as a Plex server. The Intel CPU allowed for transcoding. I have a dedicated Plex server with an old GTX 2080 Ti GPU to handle transcoding, so this was not an issue.
The advantage that the DS923+ gives me is 2x LAN ports and a PCI-E expansion slot to add in a 10 Gbps network adaptor later, which I will do along with a switch upgrade to take advantage of larger local network capacity.
Setup and configuration
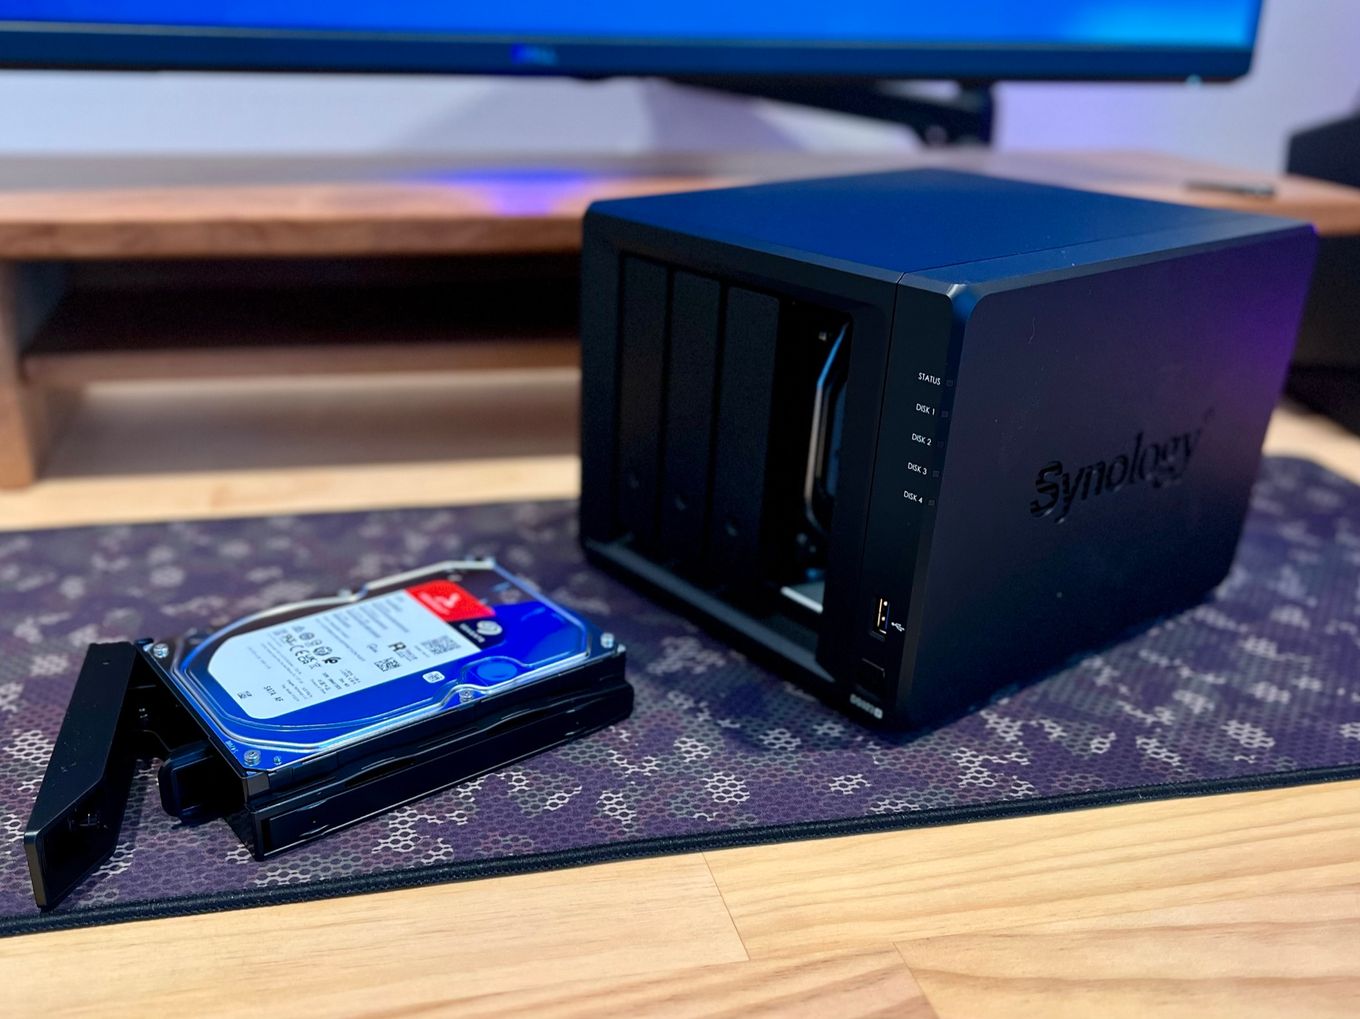
For storage, I have added four 8TB Seagate Ironwolf drives. They are the sweet spot for price and data.
Installing the drives into the drive bay was straightforward. I connected both LAN ports to my Unifi switch to take advantage of link aggregation.
Once powered up, locating the NAS was easy using the Synology Assistant. Using the configuration wizard, it took a few clicks to get the DS923+ to download the latest DSM software. Once downloaded, it took around 5 minutes for the installation to complete.
I was asked to create a Synology Account, which I declined and opted out of device analytics.
Creating a storage pool
A storage pool must be created before data can be stored on the NAS. I could compare Synology Hybrid Raid (SHR) versions one and two using the Synology RAID Calculator tool.
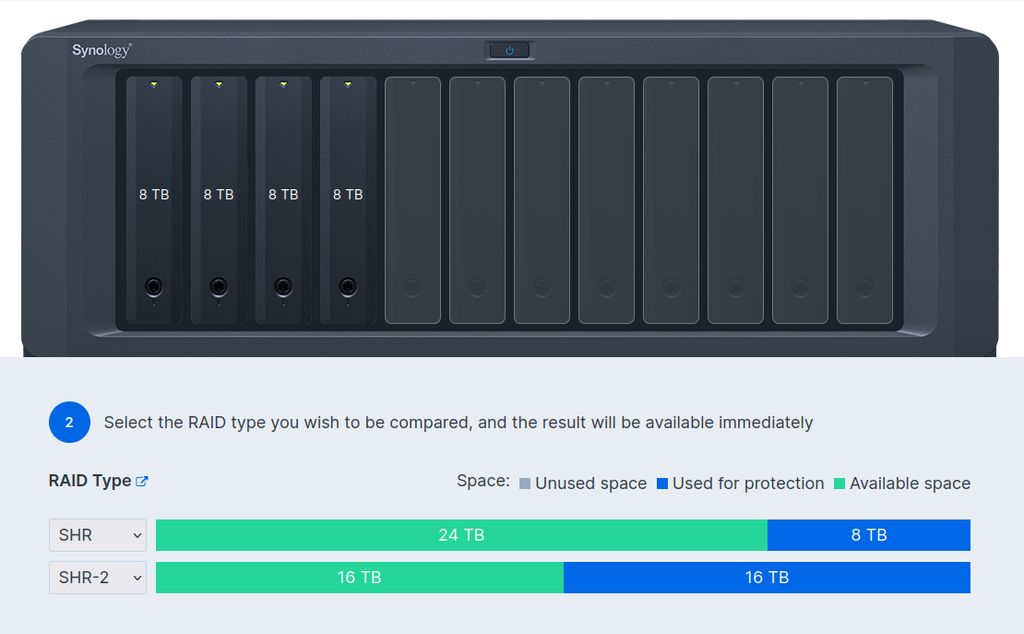
I’ve decided to go with SHR with single-drive fault tolerance. This will give me around 20TB of available storage capacity and 8TB for fault protection. SHR allows me to upgrade the drives with higher-capacity drives as they become less expensive. I also can move to SHR-2 in the future for extra fault protection.
For simplicity’s sake, I chose the Brtfs file system. A new feature available on DSM 7.2 is full disk encryption which I have enabled.
Now I’m just waiting for the storage pool to optimise in the background while I figure out how to mount a shared folder on the Plex server.
